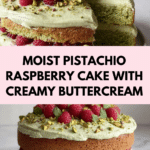
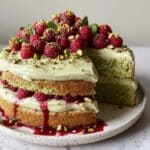
Pistachio Raspberry Cake Recipe
Introduction
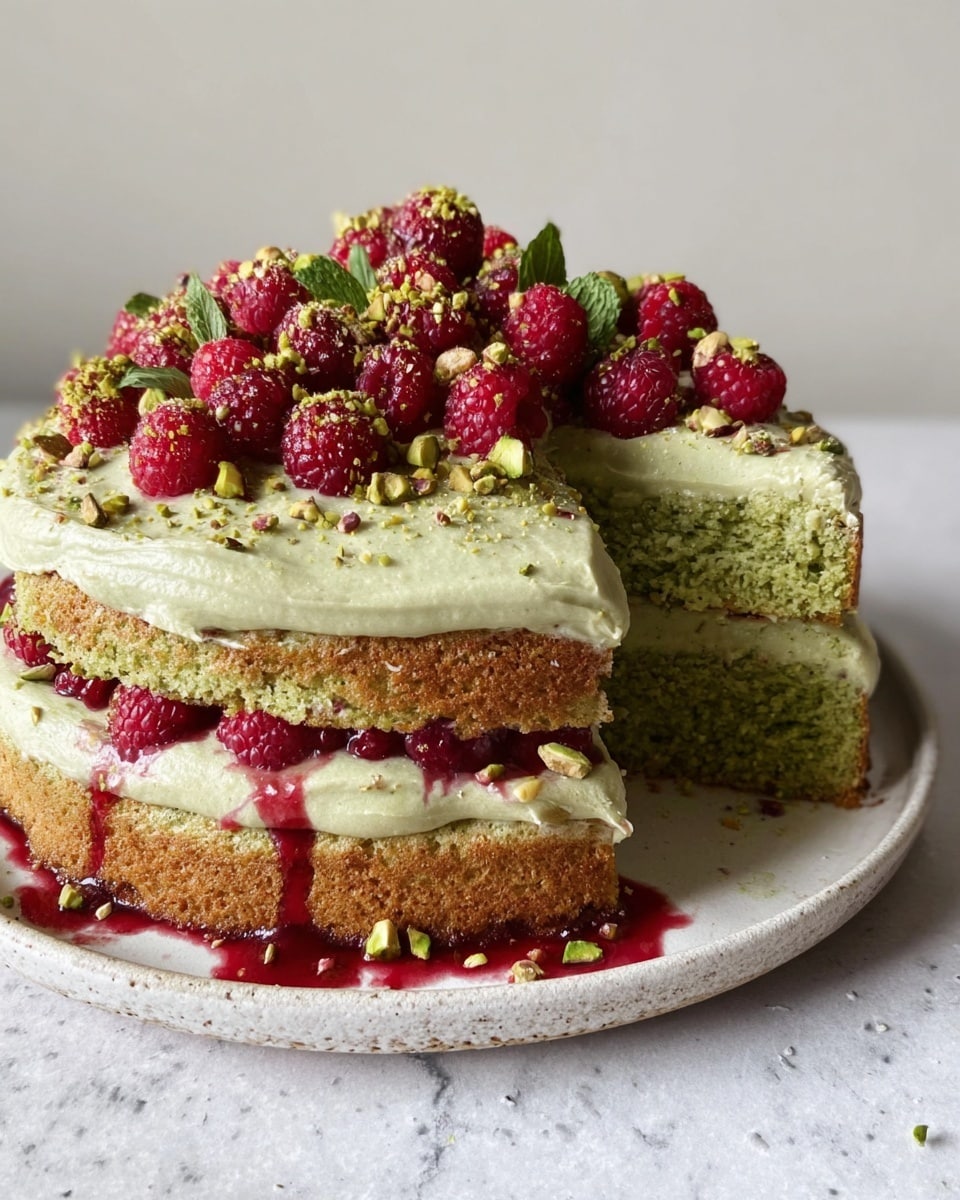
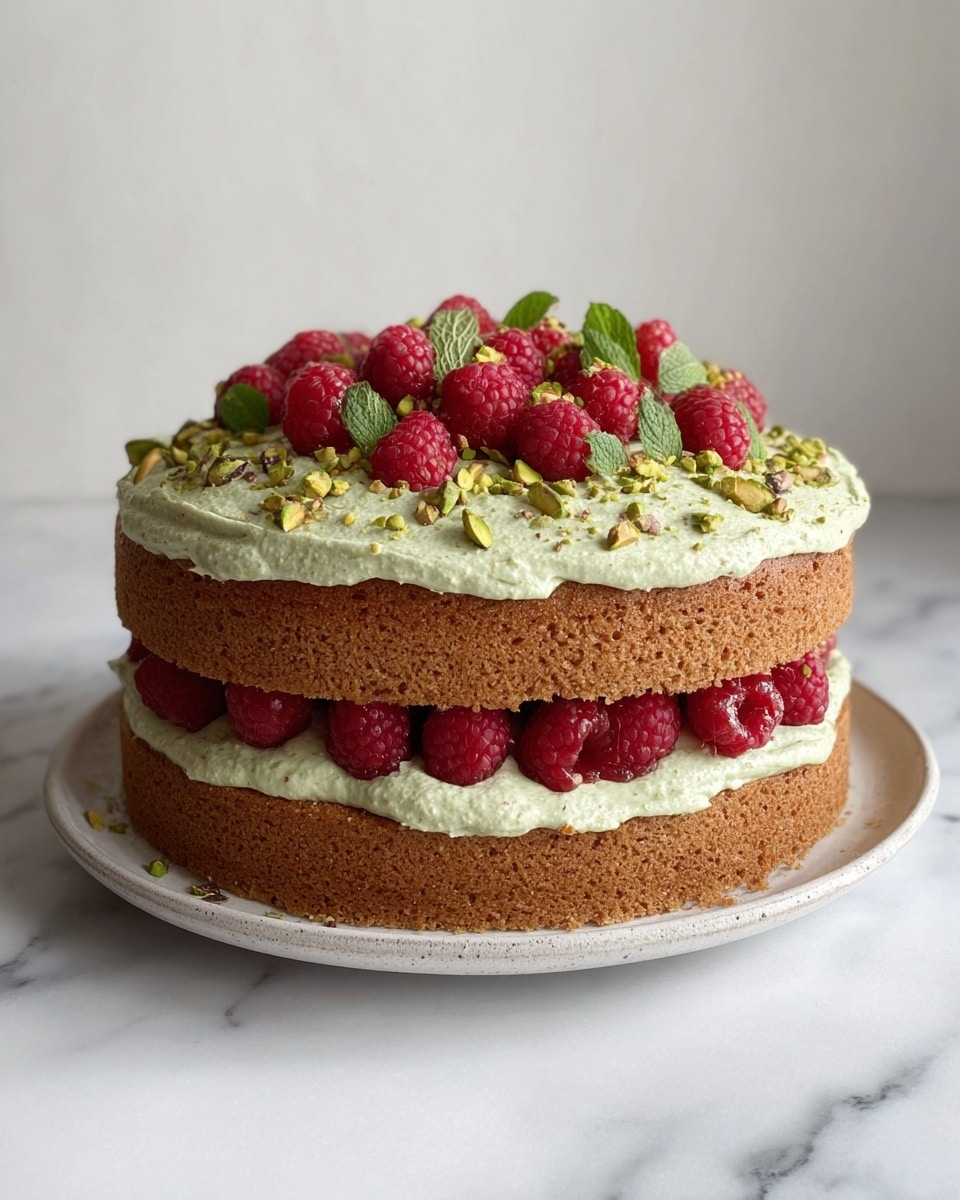
This Pistachio Raspberry Cake is a delightful combination of nutty pistachios and fresh, tangy raspberries. With its moist, green-hued layers and creamy pistachio buttercream, it makes a beautiful centerpiece for any celebration or afternoon treat.
Ingredients
- 250 g unsalted butter, softened (16 tablespoons / 2 sticks + 1 1/2 tablespoons)
- 240 g golden caster sugar (1 cup + 2 tbsp)
- 1 tsp vanilla extract
- 4 large eggs
- 150 g plain flour (1 cup + 1/4 scant cup)
- 2 tsp baking powder
- ¼ tsp fine sea salt
- 100 g shelled pistachios (3/4 cup)
- 175 g softened unsalted butter (13 tablespoons + 1 tsp) for buttercream
- 280 g sifted icing sugar (2 + 1/3 cups)
- 2 tbsp smooth pistachio cream
- ½ tsp fine sea salt (for buttercream)
- 1 tsp lemon juice
- 3 tbsp raspberry jam
- 250 g fresh raspberries (about 2 cups)
- 2 tbsp roughly chopped pistachios
- Sprigs of fresh mint, for decoration
Instructions
- Step 1: Preheat the oven to 160°C fan / 180°C conventional / 355°F. Grease and line two 20cm loose-based round cake tins with non-stick baking paper. Set aside.
- Step 2: In a large bowl, use a handheld mixer or stand mixer with a paddle attachment to cream together the butter and sugar for 3–5 minutes until light, smooth, and mousse-like. Add vanilla extract and mix again.
- Step 3: Add the eggs one at a time, whisking fully after each addition until the batter is smooth.
- Step 4: Grind the pistachios in a food processor or blender until they form a fine crumb, similar to almond meal.
- Step 5: Sift in the flour and baking powder, then add the salt and ground pistachios. Fold gently until just combined without overmixing.
- Step 6: Divide the batter evenly between the two prepared tins. Smooth the tops with a spatula or the back of a spoon to create an even layer.
- Step 7: Bake for about 35 minutes, or until the cakes are risen and a skewer inserted in the center comes out clean. Cool in the tins for 15 minutes, then turn out onto a wire rack to cool completely.
- Step 8: Prepare the buttercream by creaming together the softened butter and sifted icing sugar until pale and fluffy. Add pistachio cream, salt, and lemon juice, then beat again. Adjust lemon juice to taste.
- Step 9: Place one cake layer on a flat plate. Pipe or spread half the buttercream evenly over the cake. Spread the raspberry jam smoothly on top, keeping slightly away from the edges. Top with the second cake layer, then cover with the remaining buttercream.
- Step 10: Decorate with fresh raspberries, chopped pistachios, and sprigs of mint. Serve and enjoy!
Tips & Variations
- For a more intense pistachio flavor, lightly toast the pistachios before grinding.
- You can substitute fresh raspberries with frozen ones, but thaw and drain them well to avoid excess moisture.
- If pistachio cream is unavailable, try blending a small amount of pistachio paste with a touch of cream or butter as a substitute.
Storage
Store the cake covered in the refrigerator for up to 3 days. Bring to room temperature before serving for the best flavor and texture. Leftover cake can be wrapped tightly and frozen for up to 1 month; thaw in the refrigerator overnight.
How to Serve
Serve this delicious recipe with your favorite sides.
FAQs
Can I make this cake gluten-free?
Yes, you can substitute the plain flour with a gluten-free all-purpose flour blend that includes a binding agent, keeping other quantities the same.
How do I prevent the cake from drying out?
Be careful not to overbake; check the cake starting at 30 minutes. Make sure to cool it in the tins briefly and then on a wire rack to retain moisture without sogginess.
PrintPistachio Raspberry Cake Recipe
This Pistachio Raspberry Cake is a delightful and elegant dessert featuring a moist, nutty pistachio sponge layered with luscious raspberry jam and smooth pistachio buttercream. The cake is decorated with fresh raspberries, chopped pistachios, and mint sprigs, making it perfect for special occasions or a sophisticated afternoon treat. The use of finely ground pistachios in the batter adds a unique flavor and crumbly texture, while the tart raspberry jam complements the rich, buttery frosting beautifully.
- Prep Time: 20 minutes
- Cook Time: 35 minutes
- Total Time: 55 minutes
- Yield: 8 servings 1x
- Category: Dessert
- Method: Baking
- Cuisine: Western / European
Ingredients
Cake
- 250 g unsalted butter, softened (16 tablespoons / 2 sticks + 1 1/2 tablespoons)
- 240 g golden caster sugar (1 cup + 2 tbsp)
- 1 tsp vanilla extract
- 4 large eggs
- 150 g plain flour (1 cup + 1/4 scant cup)
- 2 tsp baking powder
- ¼ tsp fine sea salt
- 100 g shelled pistachios (3/4 cup)
Buttercream
- 175 g softened unsalted butter (13 tablespoons + 1 tsp)
- 280 g sifted icing sugar (2 + 1/3 cups)
- 2 tbsp smooth pistachio cream
- ½ tsp fine sea salt
- 1 tsp lemon juice
Filling and Decoration
- 3 tbsp raspberry jam
- 250 g fresh raspberries (roughly 2 cups)
- 2 tbsp roughly chopped pistachios
- Sprigs of fresh mint
Instructions
- Preheat and Prepare: Preheat your oven to 160°C Fan / 180°C conventional (355°F). Grease and line two 20cm loose-based round cake tins with non-stick baking paper to prevent sticking. Set them aside while preparing the batter.
- Cream Butter and Sugar: In a large bowl, use a handheld or stand mixer fitted with a paddle attachment to cream together the softened butter and golden caster sugar. Beat for 3-5 minutes until the mixture appears lighter in color, completely smooth, and mousse-like. Add the vanilla extract and mix again to combine.
- Add Eggs: Add the eggs one at a time to the butter and sugar mixture, whisking thoroughly after each addition to create a smooth, emulsified batter.
- Grind Pistachios: Using a food processor or blender, grind the shelled pistachios into a fine crumb, similar in texture to ground almonds or almond meal. This will give the cake its characteristic nutty flavor and texture.
- Combine Dry Ingredients: Sift together the plain flour and baking powder. Add the fine sea salt and the ground pistachios to this dry mixture. Carefully fold these dry ingredients into the wet batter until just combined, taking care not to overmix to keep the cake light.
- Divide and Smooth Batter: Evenly divide the batter between the two prepared cake tins. Use a spatula or the back of a spoon to smooth the surface of each cake into an even layer for uniform baking.
- Bake the Cakes: Bake the cakes in the preheated oven for about 35 minutes, or until they have risen well and a skewer inserted into the center comes out clean. Once done, leave the cakes to cool in their tins for 15 minutes before gently turning them out onto a wire rack to cool completely. Expect the greenish hue on the outside to fade slightly; the interior will remain vibrant.
- Prepare Buttercream: While the cakes cool, use a mixer to cream together the softened butter and sifted icing sugar until the mixture is pale and has increased in volume. Add the pistachio cream, salt, and lemon juice, beating well to incorporate. Taste the buttercream and adjust the lemon juice to your preference for brightness.
- Assemble the Cake: Place one cooled cake layer on a flat plate. Spoon half the prepared buttercream into a piping bag and pipe it evenly over the cake surface. Spread the raspberry jam on top of the buttercream carefully, avoiding the edges to prevent the jam from leaking. Place the second cake layer on top, and cover with the remaining buttercream.
- Decorate: Finish by decorating the top of the cake with fresh raspberries, sprigs of fresh mint, and roughly chopped pistachios for added texture and visual appeal. Your Pistachio Raspberry Cake is now ready to serve and enjoy.
- Watch the Video: For additional guidance and visual aid, refer to the accompanying video tutorial linked in the original recipe source.
Notes
- If pistachio cream is unavailable, you can substitute with a small amount of pistachio paste or finely ground pistachios blended into the buttercream for flavor.
- Make sure the butter and eggs are at room temperature before starting to ensure a smooth batter.
- Golden caster sugar is preferred for its subtle caramel notes but superfine sugar can be used as an alternative.
- Allow cakes to cool completely before frosting to prevent the buttercream from melting.
- This cake can be stored in an airtight container in the refrigerator for up to 3 days. Bring to room temperature before serving for best flavor.
- For a vibrant green pistachio color, ensure not to overbake and use fresh quality pistachios.
Keywords: pistachio cake, raspberry cake, nutty cake, buttercream frosting, layered cake, easy dessert, moist cake, pistachio raspberry dessert