Texas Roadhouse Country Fried Chicken with Creamy Gravy Recipe
Introduction
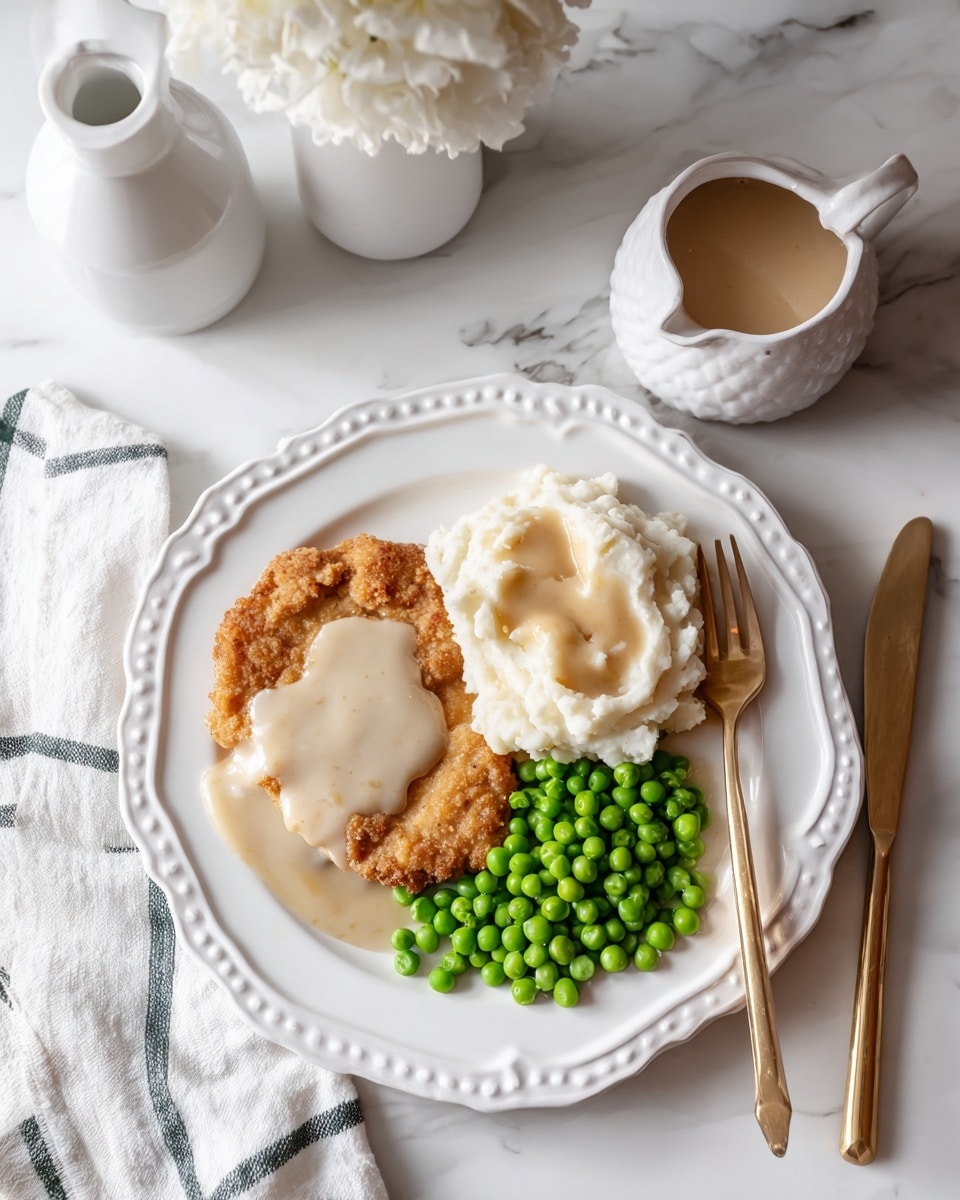
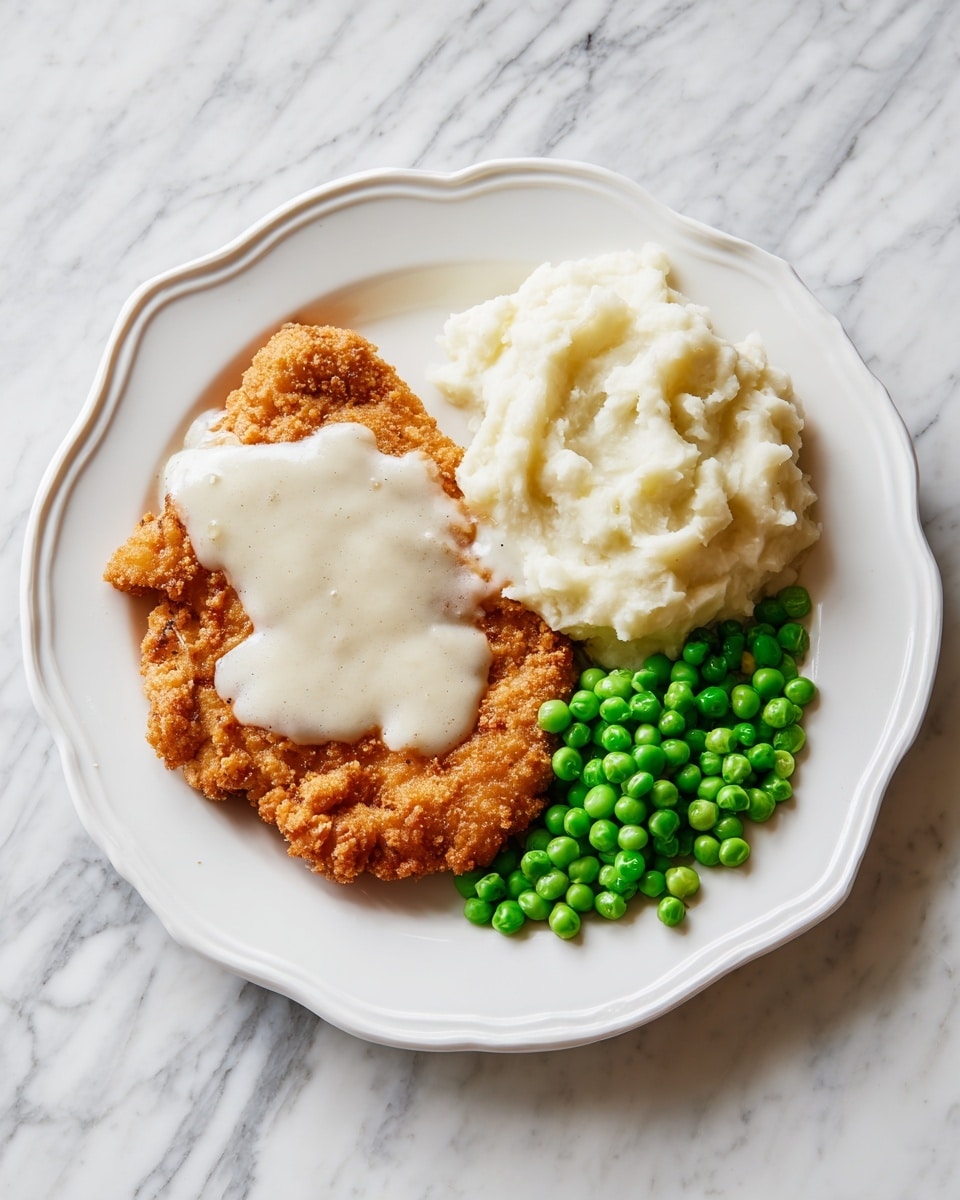
Texas Roadhouse Country Fried Chicken is a crispy, flavorful dish that combines tender chicken breasts with a perfectly seasoned coating and creamy homemade gravy. It’s a comforting classic that’s easier to make at home than you might think.
Ingredients
- 4 Boneless Skinless Chicken Breasts
- 1 1/2 cups Flour
- 1 tsp Onion Powder
- 1 tsp Garlic Powder
- 1/2 tsp Salt
- 1 tsp Pepper
- 1/4 tsp Cayenne Pepper
- 1 Cup Buttermilk
- 2 Large Eggs
- Vegetable Oil for Frying
- 1/2 cup Butter (salted)
- 1/4 cup Flour (for gravy)
- 2 cups Milk
- 1/2 tsp Salt (for gravy)
- 1/2 tsp Pepper (for gravy)
Instructions
- Step 1: Pound the chicken breasts until they are about 1/4 inch thick to ensure even cooking.
- Step 2: In a shallow bowl, combine flour, onion powder, garlic powder, salt, pepper, and cayenne pepper. In a separate shallow bowl, whisk together the eggs and buttermilk.
- Step 3: Coat each chicken breast first in the flour mixture, then dip in the buttermilk mixture, and back into the flour mixture. Press the flour onto the chicken to coat completely. Place coated chicken on a plate and repeat with remaining pieces.
- Step 4: Preheat your oven to 200°F. Heat about 1 inch of vegetable oil in a large skillet over medium-high heat until it reaches 350°F.
- Step 5: Fry the chicken in batches, cooking for 2-3 minutes per side until lightly golden brown. Drain on paper towels, then place on a sheet pan in the oven to keep warm while frying the rest.
- Step 6: To make the gravy, melt butter in a medium saucepan over medium-high heat. Stir in flour and cook until combined and slightly toasted.
- Step 7: Slowly whisk in the milk to avoid lumps. Continue whisking until the gravy thickens, about 3-5 minutes.
- Step 8: Adjust consistency with more milk if too thick, or cook longer if too thin. Season with salt and pepper.
- Step 9: Ensure chicken reaches an internal temperature of 165°F. Serve the chicken topped with gravy and enjoy.
Tips & Variations
- For extra crispy coating, double dredge the chicken by repeating the flour and buttermilk steps twice.
- Substitute buttermilk with milk mixed with a tablespoon of lemon juice or vinegar if you don’t have buttermilk on hand.
- Use a thermometer to monitor oil temperature and prevent greasy or undercooked chicken.
- Add chopped fresh herbs like parsley to the gravy for a fresh twist.
Storage
Store leftover chicken and gravy separately in airtight containers in the refrigerator for up to 3 days. Reheat the chicken in a warm oven to keep the coating crisp and warm the gravy gently on the stove, stirring to prevent lumps.
How to Serve
Serve this delicious recipe with your favorite sides.
FAQs
Can I use chicken thighs instead of breasts?
Yes, boneless skinless chicken thighs can be used for a juicier result. Just adjust cooking times as thighs may take a bit longer to cook through.
How do I know when the oil is the right temperature for frying?
The oil should be around 350°F. Use a kitchen thermometer for accuracy; if the oil is too hot, the coating will burn, and if it’s too cool, the chicken will be greasy.
PrintTexas Roadhouse Country Fried Chicken with Creamy Gravy Recipe

This Texas Roadhouse Country Fried Chicken recipe delivers crispy, tender chicken breasts coated in a flavorful seasoned flour mixture and served with a rich, creamy homemade gravy. The chicken is first dredged in a buttermilk and egg wash, fried to golden perfection, and kept warm in the oven while you prepare a buttery white gravy that perfectly complements the dish. Enjoy this classic Southern comfort food that’s ideal for a hearty family meal.
- Prep Time: 20 minutes
- Cook Time: 15 minutes
- Total Time: 35 minutes
- Yield: 4 servings 1x
- Category: Main Dish
- Method: Frying
- Cuisine: Southern American
Ingredients
For the Chicken:
- 4 Boneless Skinless Chicken Breasts
- 1 1/2 cups Flour
- 1 tsp Onion Powder
- 1 tsp Garlic Powder
- 1/2 tsp Salt
- 1 tsp Pepper
- 1/4 tsp Cayenne Pepper
- 1 Cup Buttermilk
- 2 Large Eggs
- Vegetable Oil for Frying
For the Gravy:
- 1/2 cup Butter (salted)
- 1/4 cup Flour
- 2 cups Milk
- 1/2 tsp Salt
- 1/2 tsp Pepper
Instructions
- Pound the Chicken: Pound out the chicken breasts until they are approximately 1/4 inch thick to ensure even cooking and tenderness.
- Prepare Dry and Wet Mixes: In a shallow bowl, mix together the flour, onion powder, garlic powder, salt, pepper, and cayenne pepper. In a separate shallow bowl, whisk together the eggs and buttermilk until combined.
- Coat the Chicken: Dip each chicken breast first into the flour mixture, then into the buttermilk mixture, and back into the flour mixture. Press the flour onto the chicken to ensure it’s fully coated. Place coated chicken on a plate and repeat with remaining pieces.
- Preheat Oil and Oven: Preheat the oven to 200°F to keep fried chicken warm. In a large skillet, heat about 1 inch of vegetable oil over medium-high heat until it reaches 350°F.
- Fry the Chicken: Working in batches, carefully place coated chicken breasts in the hot oil. Fry for 2-3 minutes per side until golden brown and crispy. Drain on a paper-towel-lined plate, then transfer to a sheet pan and keep warm in the oven.
- Make the Gravy Base: In a medium saucepan, combine the butter and flour. Cook over medium-high heat until the butter melts and flour is cooked through, forming a roux.
- Add Milk and Whisk: Gradually pour in the milk while whisking continuously to prevent lumps from forming.
- Simmer the Gravy: Allow the gravy to simmer for 3-5 minutes, stirring regularly until it thickens to desired consistency.
- Adjust Consistency: If the gravy becomes too thick, add a little more milk. If it’s too thin, continue simmering until thickened.
- Check Chicken Temperature and Serve: Verify that the chicken has reached an internal temperature of 165°F. Serve the crispy country fried chicken hot, drizzled generously with the creamy homemade gravy. Enjoy!
Notes
- Be careful not to overcrowd the skillet when frying to maintain oil temperature and achieve crispy chicken.
- Pounding the chicken evenly helps it cook uniformly and stay tender.
- Keep fried chicken warm in the oven while preparing gravy to maintain crispiness.
- You can make the gravy spicier by adding a pinch of cayenne or black pepper to taste.
- Use a meat thermometer to ensure chicken is fully cooked to 165°F for safety and optimal juiciness.
Keywords: Country Fried Chicken, Southern Fried Chicken, Texas Roadhouse, Crispy Chicken, Chicken with Gravy, Comfort Food