The BEST Homemade Crunch Bars Recipe
Introduction
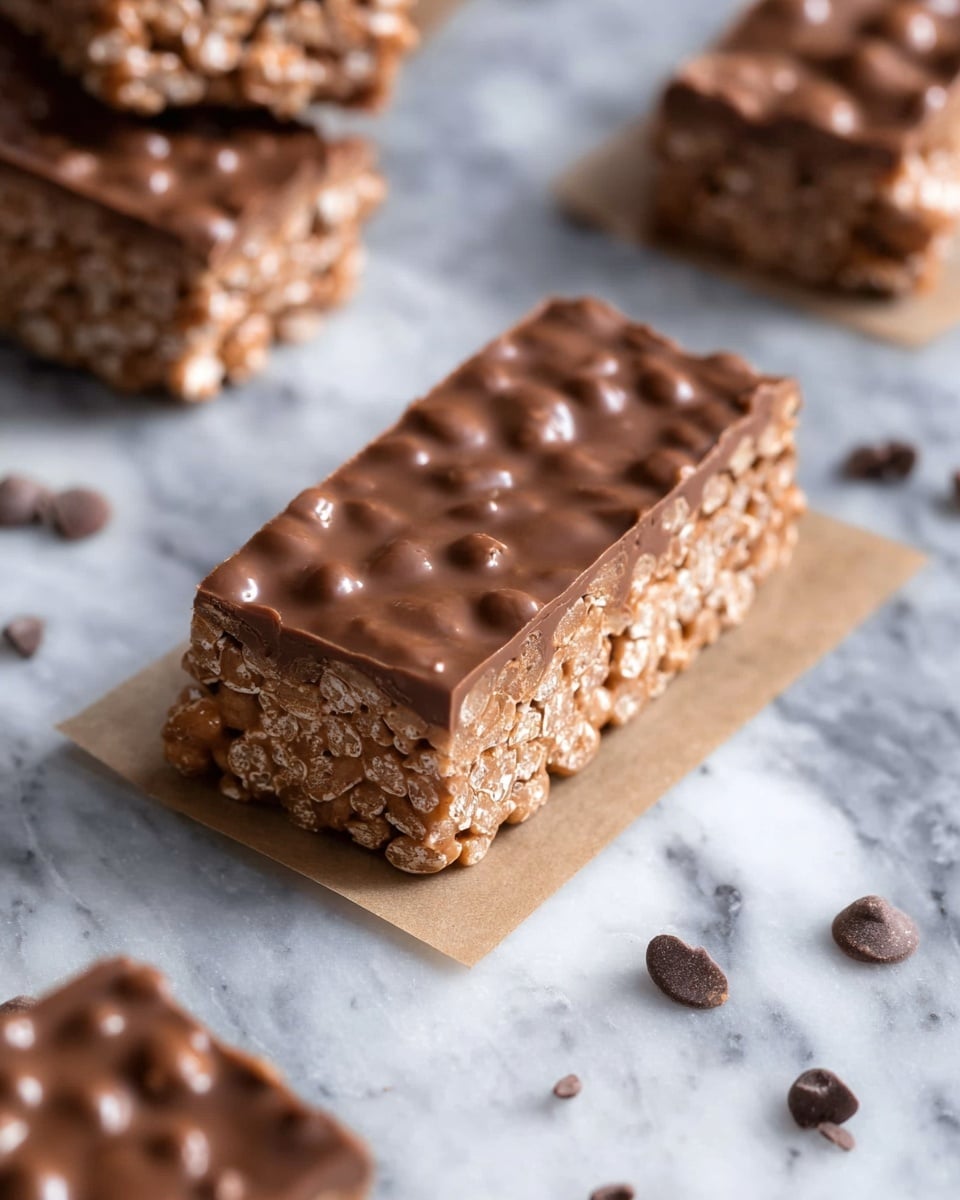
If you’re craving a crunchy, chocolatey snack, these homemade crunch bars are the perfect treat. Made with simple ingredients like peanut butter, chocolate, and crispy rice cereal, they come together quickly for a satisfying and delicious snack.

Ingredients
- 3 cups crispy rice cereal
- 1 1/2 cups chocolate chips
- 1 cup peanut butter (can substitute any nut or seed butter)
- 1/2 cup maple syrup
- 1/4 cup coconut oil (can substitute for grass fed butter)
Instructions
- Step 1: Line an 8 x 8-inch baking dish or deep baking tray with parchment paper and set aside.
- Step 2: Place the crispy rice cereal in a large mixing bowl and set aside. In a microwave-safe bowl or on the stovetop, combine the chocolate chips, peanut butter, maple syrup, and coconut oil. Heat gently until melted and smooth, then whisk to fully combine.
- Step 3: Pour the melted chocolate and peanut butter mixture over the crispy rice cereal. Mix thoroughly until the cereal is evenly coated.
- Step 4: Transfer the mixture into the lined baking dish, pressing it down evenly. Refrigerate until firm, at least 1 hour.
- Step 5: Once set, remove from the dish using the parchment paper and cut into bars. Enjoy!
Tips & Variations
- Try swapping peanut butter for almond or sunflower seed butter to suit dietary preferences or add new flavors.
- For a dairy-free version, make sure to use dairy-free chocolate chips and coconut oil instead of butter.
- Add a sprinkle of sea salt on top before chilling for a delicious sweet-salty contrast.
Storage
Store the crunch bars in an airtight container in the refrigerator for up to one week. They can also be frozen for longer storage. To enjoy, simply let them come to room temperature or warm slightly before serving.
How to Serve
Serve this delicious recipe with your favorite sides.
FAQs
Can I use a different type of cereal?
Yes, you can substitute crispy rice cereal with other cereals like puffed quinoa or cornflakes, but keep in mind the texture and flavor might change slightly.
Do I have to refrigerate the bars?
Refrigeration helps the bars set and maintain their shape. If left at room temperature, they may become too soft and sticky.
PrintThe BEST Homemade Crunch Bars Recipe
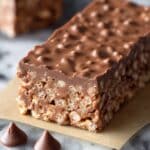
These homemade crunch bars are a delicious and easy no-bake treat combining crispy rice cereal with a rich, melted blend of chocolate, peanut butter, maple syrup, and coconut oil. Perfect for a quick snack or dessert, they offer a satisfying crunchy texture and a sweet, nutty flavor without any baking required.
- Prep Time: 10 minutes
- Cook Time: 5 minutes
- Total Time: 1 hour 15 minutes
- Yield: 16 bars (approximate, depending on bar size) 1x
- Category: Snack
- Method: No-Cook
- Cuisine: American
- Diet: Vegetarian
Ingredients
Dry Ingredients
- 3 cups crispy rice cereal
Wet Ingredients
- 1 1/2 cups chocolate chips
- 1 cup peanut butter (can substitute any nut or seed butter)
- 1/2 cup maple syrup
- 1/4 cup coconut oil (can substitute grass fed butter)
Instructions
- Prepare baking dish: Line an 8 x 8-inch baking dish or deep baking tray with parchment paper and set aside to prevent sticking and ease removal of the bars.
- Heat wet ingredients: In a microwave-safe bowl or on the stovetop, combine the chocolate chips, peanut butter, maple syrup, and coconut oil. Heat gently until melted, removing from heat and whisking thoroughly until the mixture is smooth and fully incorporated.
- Mix with cereal: Pour the melted chocolate and peanut butter mixture over the crispy rice cereal in a large mixing bowl. Stir well until the cereal is evenly coated with the chocolate mixture.
- Set the bars: Transfer the mixture into the prepared baking dish, spreading it out evenly. Refrigerate until firm, at least one hour, to allow the bars to solidify.
- Cut and serve: Once firm, remove from the fridge and cut into bars of your desired size. Enjoy immediately or store in an airtight container.
Notes
- For a nut-free version, substitute peanut butter with sunflower seed butter or tahini.
- Using parchment paper makes it easier to lift and cut the bars after setting.
- These bars should be stored in the refrigerator to maintain firmness, especially in warm climates.
- You can add extras like a pinch of salt, vanilla extract, or chopped nuts for added flavor and texture.
- For a vegan version, ensure the chocolate chips are dairy-free.
Keywords: homemade crunch bars, no bake snack, crispy rice bars, chocolate peanut butter bars, easy dessert